
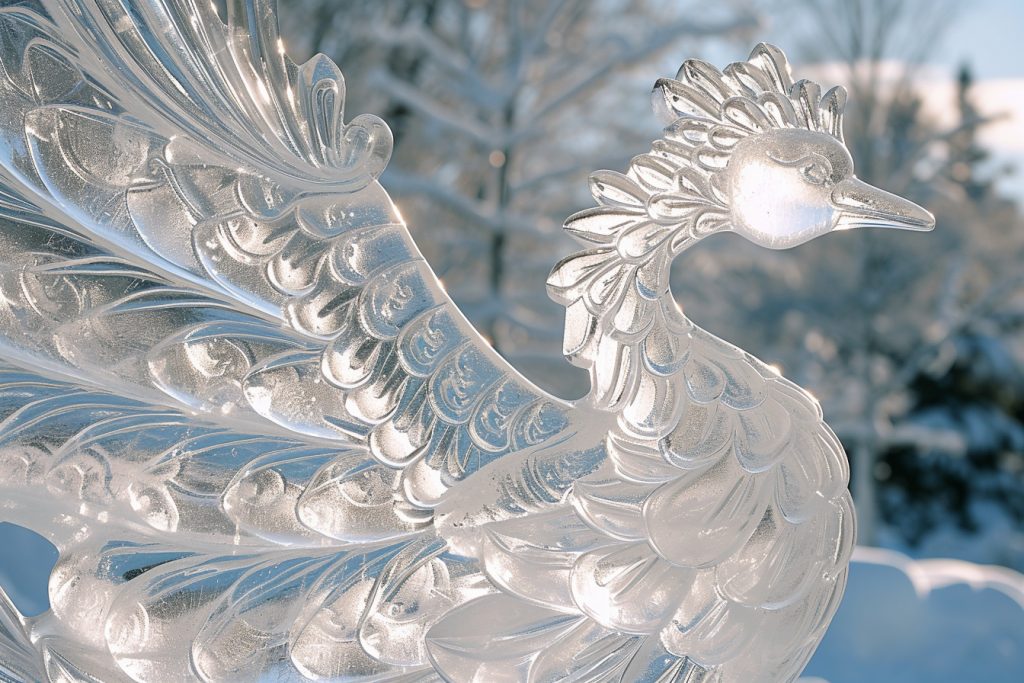
Ice sculpting blends the beauty of art with the precision of craftsmanship. Transforming a solid block of ice into an intricate masterpiece requires both creative vision and technical skill. This step-by-step tutorial guides beginners through the exciting world of ice sculpting, presenting key techniques and essential tips for creating your own frozen creations.
Understanding ice sculpture basics
Before diving hands-first into the art of ice sculpting, beginners must familiarize themselves with the fundamentals, starting with the selection of the right kind of ice. Clear, solid blocks made from pure, filtered water are the gold standard. They ensure the absence of impurities and air bubbles, which can compromise the aesthetic and structural integrity of the sculpture.
Storage and Safety:
Keep the ice at a consistent temperature before sculpting to avoid premature melting. When handling ice and sharp tools, wearing appropriate safety gear such as gloves and eye protection is critical to avoid injury.
Step 1: designing your sculpture
Conceptualization:
Start with a clear concept or design in mind. This can range from abstract forms to detailed figures or objects. Drawing a sketch of your intended sculpture serves as a visual aid throughout the sculpting process.
Template Creation:
Convert your sketch into templates, using paper or cardboard cutouts. Place these templates against the ice block to guide your initial large cuts, ensuring accuracy in proportions and symmetry.
Step 2: roughing out the shape
Choosing Your Tools:
Begin with saws and chisels designed specifically for ice carving. Chainsaws can be used for making large, rough cuts, while hand saws provide greater control for smaller sections.
The Initial Cuts:
Begin carving by following your templates to cut the ice block down to a basic form. Remove large chunks of unnecessary ice first, gradually working towards the more defined shape of your design.
Step 3: detailing your sculpture
Refining the Shape:
Switch to more precise tools like chisels and ice picks to add detail. It is beneficial to work from the top down to prevent any removed ice from falling and damaging completed work below.
Precision Technique:
Use chisels with care to create intricate designs, taking off small amounts of ice with each strike. Repeatedly compare your progress to the template to maintain accurate dimensionality.
Step 4: polishing and finishing touches
Smoothing the Surface:
Once the details are in place, the focus shifts to smoothing the sculpture’s surface. A simple iron or heat gun gently melts and refines the ice surface, eliminating chisel marks and creating a transparent, glass-like finish.
Final Details:
For the ultimate precision, Dremel tools can etch fine lines and textures. At this stage of the sculpting process, every gesture impacts the overall appearance, so patience and attention to the minutest details are paramount.
Advanced techniques and considerations
With the fundamental steps addressed, some advanced techniques can elevate the craft of ice sculpting to new heights:
Layering and bonding ice
Creative sculptures sometimes require multiple ice blocks. Using a combination of ‘gluing’ with water and freezing, artists bond ice pieces together, expanding the scope of their design.
Incorporating color and light
LED lights and colored gels transform ice sculptures by illuminating them from within or externally to accentuate contours and add drama.
Creating texture
Texturing techniques involve chipping or sanding the ice to create a frosted look, which can highlight certain areas or provide a contrast to polished surfaces.
Managing melting
Understanding the melting properties of ice is essential. Utilize melting as an artistic tool: controlled melting can refine features, while preventing unwanted melting preserves the sculpture’s longevity.
Continuing your ice sculpting journey

Regular Practice:
As with any skill, ice sculpting improves with practice. Beginners should continuously challenge themselves with more complex designs and techniques.
Seeking Inspiration:
Studying the work of seasoned ice sculptors, attending ice festivals, and participating in workshops are excellent ways to gain inspiration and learn from the expertise of others.
Community Engagement:
Joining an ice sculpting community or forum provides support, enables the sharing of ideas, and offers opportunities for collaborative projects.
This tutorial aims to not just instruct, but to inspire beginners to embark on a journey into the world of ice sculpting. Persistence, coupled with a willingness to learn and experiment, will see your skills flourish as you sculpt stunning ice figures that capture both light and imagination. The ability to transform a mundane block of frozen water into a work of art is a uniquely satisfying experience. Embrace the chill of the medium and let your creativity flow as freely as the meltwater from your fledgling sculptures.


