
Are you tired of generic mass-produced items and looking to add a touch of personalization to your accessories? Look no further than DIY leather crafting! This ancient craft allows you to create unique and stylish handmade goods that reflect your individuality. Whether you want to make a personalized wallet, a custom belt, or even a trendy leather bag, this article will guide you through the fascinating art of leather crafting and help you unleash your creativity.
Essential Tools and Materials for Leather Crafting
Before diving into the world of leather crafting, it’s essential to have the right tools and materials at your disposal. Here are some essentials you’ll need to get started:
- Leather: Choose high-quality leather that suits your project. Different types of leather have different characteristics, so consider factors like thickness, flexibility, and durability before making a selection.
- Cutting tools: A sharp utility knife or a leather cutting tool is crucial for precise and clean cuts. Make sure to invest in a good quality cutting tool that is comfortable to hold.
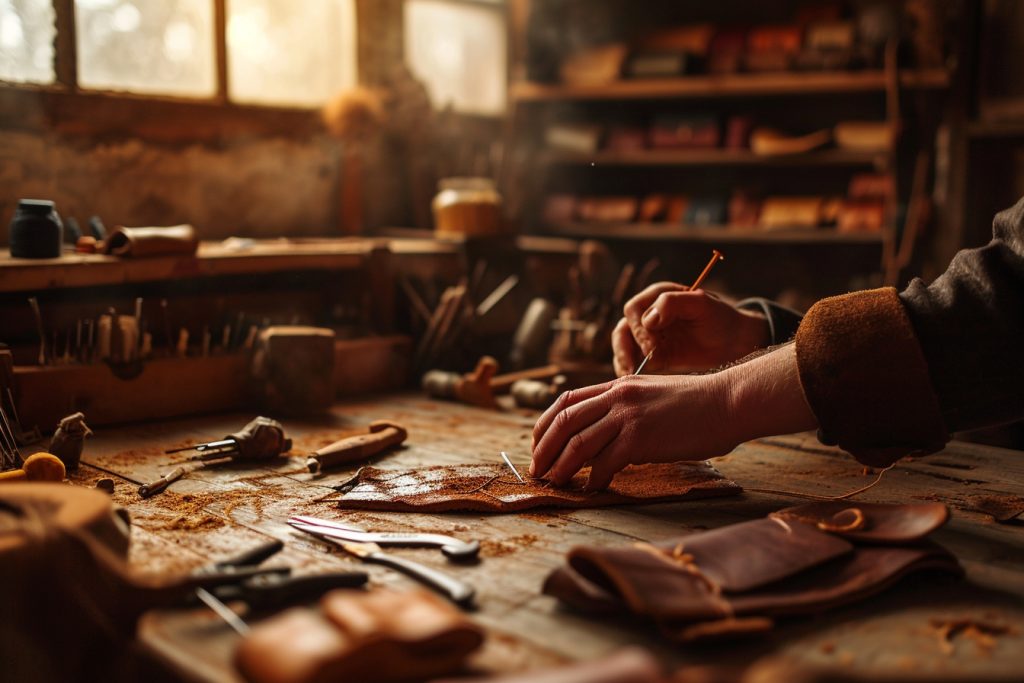
- Stitching tools: These include needles, a stitching awl, and waxed thread. The awl is used to create holes for stitching, and the needles and thread are used to sew the leather pieces together. Opt for heavy-duty needles and durable waxed thread to ensure your stitches hold up over time.
- Rivets and snaps: These are used to secure parts of your leather project together. Rivets are perfect for strengthening and adding a decorative touch, while snaps make it easy to open and close items like wallets or bags.
- Leather conditioner: Keep your leather goods looking their best by regularly conditioning them with a leather conditioner. This will help prevent cracking and maintain the leather’s natural beauty.
Step-by-Step Guide to Creating Handmade Leather Goods
Now that you have your tools and materials ready, it’s time to dive into the creative process of making your own handmade leather goods. Here’s a step-by-step guide to get you started:
- Design and pattern: Begin by sketching your design or finding a pattern online. Measure and mark the leather accordingly.
- Cutting: Use your cutting tool to carefully cut out the pieces of leather according to the pattern. Take your time to ensure clean and accurate cuts.
- Prep and assemble: Prepare the leather by dampening it slightly, which will make it more pliable. Assemble the pieces and use clips or clamps to hold them in place.
- Stitch or glue: Depending on your preference, you can either stitch the leather pieces together using the stitching tools or use leather glue for a seamless look.
- Finishing touches: Once the main construction is completed, add any desired finishing touches such as decorative rivets, snaps, or buckles to enhance the overall aesthetic.
With practice and patience, you’ll soon find yourself mastering the art of leather crafting and creating beautiful handmade goods that stand the test of time.
DIY leather crafting offers a fantastic opportunity to express your creativity and create one-of-a-kind accessories that you can proudly show off. By investing in the right tools and materials and following a step-by-step guide, you’ll be well on your way to becoming a skilled leather crafter. So, grab your leather and tools, and let your imagination run wild. Get ready to embark on a fulfilling journey into the world of handmade leather goods!


